They say a picture is worth 1,000 words. If that is true (or even close to true), images can do a lot for what you are trying to accomplish online. We thought it would be useful to put together a little tutorial about the use of images online and provide some useful information about the types of images you’ll encounter there.
Image Size and Why It Matters
The larger the image, the larger the file’s size, right? Images with an immense file size can potentially make your images unusable for practical purposes as most platforms will only give users a 10-to-25 MB allowance for file attachments. Large images will easily exceed this figure.
When uploaded to a website, it can be an even bigger problem. Large image files can slow down a website substantially and really wreak havoc on people that have limited data plans. That’s why we’ve put together these blogs: to teach people what they need to know about working with images online.
Always Keep the Original Image
Whenever you aim to resize an image, we have to stress how important it is to keep the original. Scaling an image down is no sweat, but scaling it back up is nearly impossible. Make sure you retain a master copy just in case you need to take a step or two back.
You Can Scale Down, But Not Up
Again, it is really hard to scale an image up. People with years of design experience can’t (and won’t) do it, so you probably can’t either. Any image you make larger won’t have any detail added to it. Rather, it will just become blurry. Check out this image of a florist’s boutique:
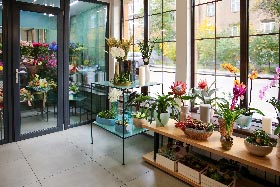
It’s a nice picture, but if you try to scale it up, it looks like this:
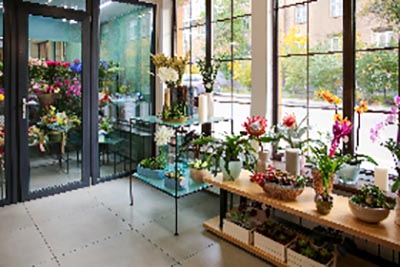
Not great. Pixelated and distorted. The larger you get, the worse it gets. So, you will want to save the master, which should be large enough to do whatever you need to do with it.
“Working” Image Formats
In addition to your master image, it’s also wise to keep some “working” images. This means keeping an image saved in multiple formats. You’ll likely only work with JPEG or PNG, but you should save it as a PSD (if you are working with it in Photoshop), so you don’t have problems if you want to edit the layers of an image before you publish or upload it.
Which Image Format Should I Choose?
Part 2 of this blog will be about resizing the image, but to wrap up this part, we thought it would be a good idea to talk a little bit about the types of images the average person will encounter (or work with). There are really only three that you should know at the top. They are JPEG, PNG, and GIF. Let’s dive in:
JPEG
An acronym for Joint Photographic Experts Group, a JPEG is any image tagged with .jpg or .jpeg. It is probably the most popular image format found on the Internet. This format was created to condense massive images into smaller file sizes, with their print size equaling 218 inches. They are also supported by almost every piece of editing and design software there is. Their major benefit is that they allow you to balance your file size to your image quality.
PNG
Mostly used in design, the PNG (Portable Network Graphics) provides the ability to support transparency without large file sizes. The PNG makes it a great option for logos or other images that need to be superimposed over a background image or color. A lot of superior illustrations are also a good fit for the PNG format, assuming you don’t mind trading a smaller file size for image quality.
GIF
GIFs are for lower image quality and ultra-small file sizes. They have limited color palettes, and are ideal for small photos and icons. They work great for animation and are widely shared in this format. When editing images, you probably won’t use GIF files very often.
Image Transparency
Let’s finish up with transparency. Transparency is the ability of an image to be layered on top of another image. JPEGs, by design, are not transparent at all. When placing a JPEG over another image, you will see the entire image. LIke this:
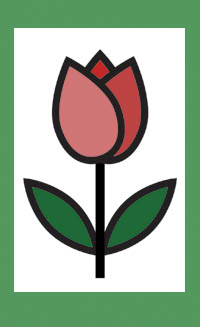
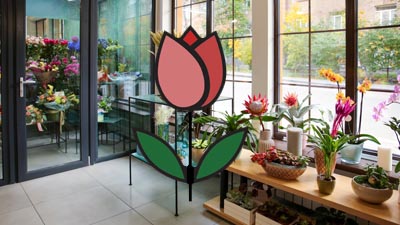
Using a PNG, however, allows for more transparency and the box goes away. It leaves you with a more pleasing image:
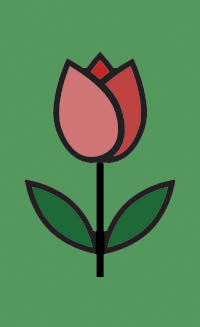
Doing this adds variables, however. Let’s say the background shares colors with the outline of the flower above. You get this:
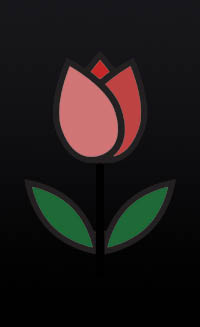
Not all that pleasing to the eye. You also need to consider this if the graphic is to be superimposed over another image. In these cases, the less “busy” your background, the better everything will translate.
We hope this helps you understand working with images a little better. While we didn’t get into more advanced file types like WEBP or SVG, we think that by understanding JPEG and PNGs a little better that you can have a better experience when trying to build online images or altering your pictures.
Check back soon to see part two of this tutorial as we show you how to properly scale your images.

Comments